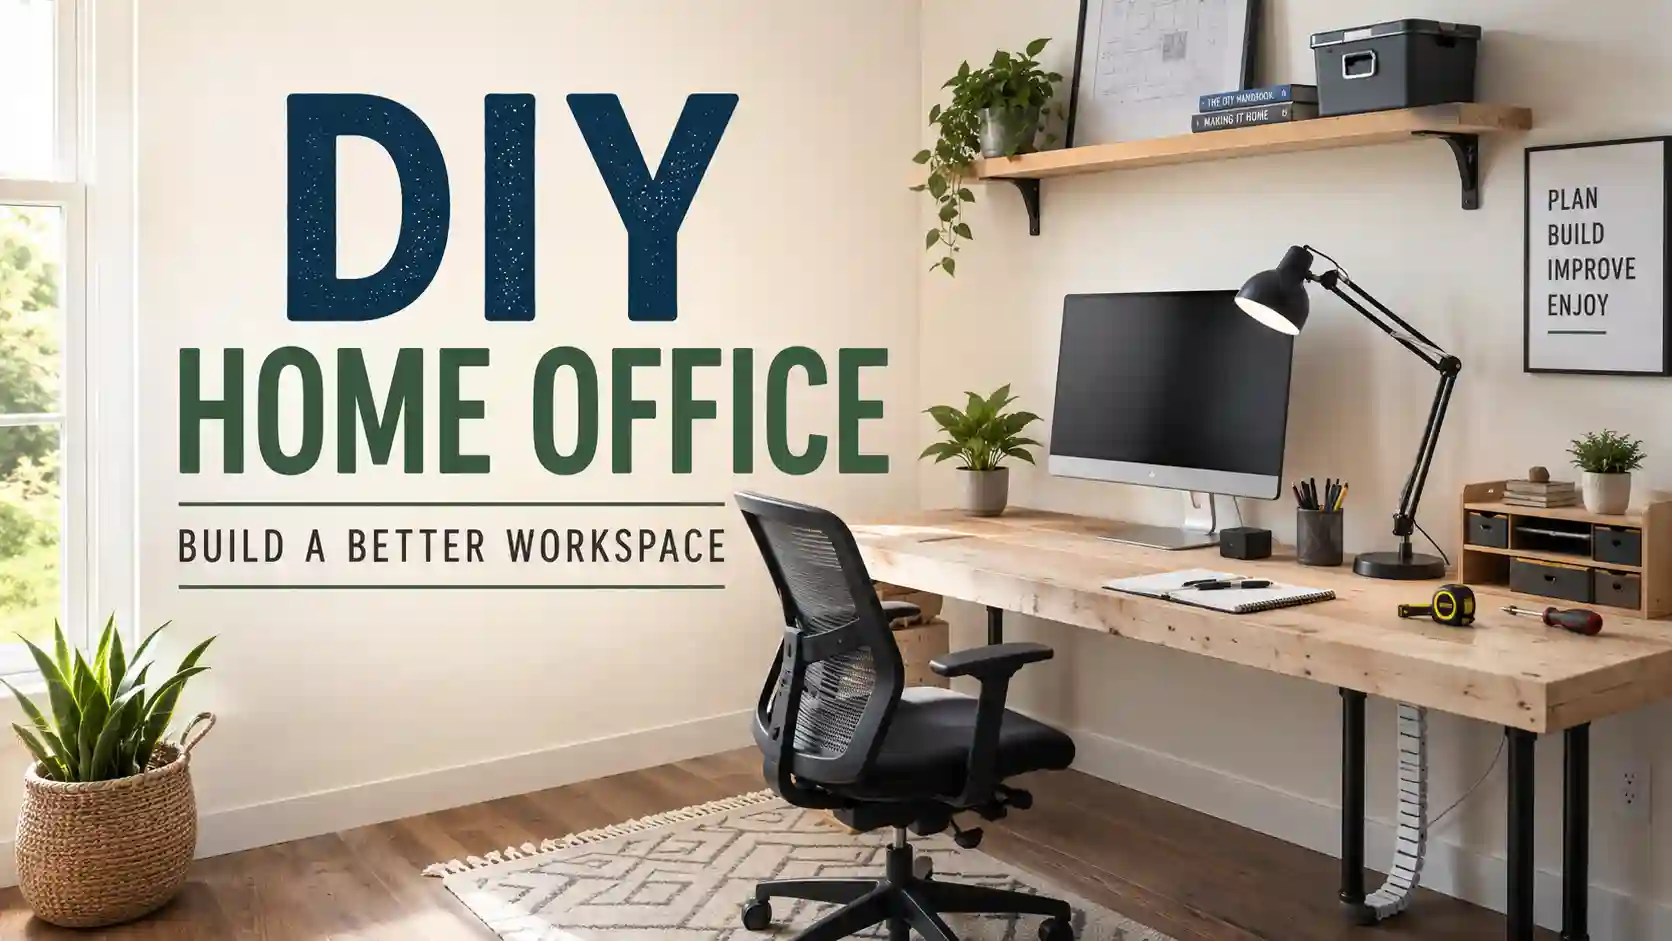
A successful DIY home office does not require a complete room makeover or expensive custom furniture. Start with a defined workspace, a desk and chair that fit your body, comfortable lighting, and a realistic budget. As a current U.S. retail reference, a basic 47-inch desk can cost about $140 and an adjustable office chair about $100, putting a new desk-and-chair starting point near $240 before lighting, storage, or computer equipment. Prices vary by retailer and location, so treat that as a planning reference rather than a fixed target.
The smartest approach is to spend money where it changes how you work. A beautiful shelf is useful. A desk at the wrong height is not. Get the fundamentals right first, then add the personal touches that make the room feel like yours.

Assessing Your Space & Budget
Before buying lumber, drilling holes, or ordering furniture, decide exactly where your office will live.
You do not necessarily need a spare bedroom. A quiet corner of a living room, guest room, wide hallway, or bedroom can become a productive workspace when the desk is positioned carefully.
Choose a Corner or a Full Room
A corner office setup works well when:
- You mainly work from a laptop or one monitor.
- Storage needs are limited.
- The room serves another purpose.
- You can put the workspace somewhere with reasonably controlled light and noise.
A dedicated room becomes more useful when you regularly take calls, use multiple monitors, store work equipment, or need to separate work from family activity.
Do not start by asking, “Where can I fit a desk?”
Ask:
“Where can I sit comfortably for several hours without blocking normal movement through the room?”
Measure the available width and depth before shopping.
Then place your chair in the proposed location and physically test it. Can you pull the chair back? Can you walk behind it? Can drawers and doors still open?
That five-minute test can prevent an expensive furniture mistake.
Think About the Window Before the Desk
Natural daylight is valuable, but placing a monitor directly in front of or directly opposite a bright window can create uncomfortable contrast or reflections.
OSHA recommends positioning monitors perpendicular to windows where practical to help control glare.
That often means placing your desk along a side wall rather than automatically pushing it beneath the window.

Set a Realistic DIY Home Office Budget
Separate your budget into three groups:
| Priority | Examples |
|---|---|
| Essential | Desk, chair, lighting, power access |
| Useful | Monitor stand, cable tray, shelves, footrest |
| Decorative | Plants, artwork, desk accessories, decorative lighting |
Spend on the first group before the third.
As a reality check, current U.S. IKEA listings show basic office chairs around $100, while more adjustable models can reach approximately $250–$340. Basic desk systems also vary significantly; one current 47-inch desk is listed around $140, while a larger 55-inch configuration can approach $280.
That means there is no single correct “DIY office budget.”
A better method is:
Workspace budget = ergonomic essentials + DIY materials + lighting + organization
Then add decorative upgrades only when money remains.
Already own a suitable table? Keep it.
Already have a lamp that gives you comfortable light? Use it.
DIY should reduce unnecessary spending, not create an excuse to replace everything.
Ergonomics First
Your desk may look impressive on Pinterest and still be uncomfortable by lunchtime.
Build the workspace around your body first.
OSHA’s computer-workstation guidance recommends neutral positions where your shoulders remain relaxed, elbows stay close to the body, wrists remain relatively straight, feet are supported, and your back receives appropriate support. It also notes that elbows can generally remain between approximately 90 and 120 degrees rather than forcing everyone into one exact angle.
Selecting the Right Desk
There is no universal desk height that perfectly fits every person.
That is especially important when building a desk yourself.
Instead of copying a random measurement from another DIY project, determine your working position first.
Sit in your chair with:
- Feet supported.
- Shoulders relaxed.
- Upper arms close to your body.
- Forearms roughly parallel to the floor.
- Wrists straight rather than bent upward.
Your keyboard and mouse should then sit at a height that lets you maintain that position.
OSHA specifically warns that work surfaces that are too high or too low can encourage awkward arm and shoulder positions.
How Deep Should the Desk Be?
Your desktop needs enough depth to position the monitor comfortably without pushing your chair backward.
OSHA recommends placing a monitor directly in front of the user and at least 20 inches away.
This is one reason very shallow console tables often make disappointing computer desks.
Before choosing your desktop depth, arrange your actual equipment on a dining table or floor:
- Put the keyboard where your hands feel comfortable.
- Place the monitor behind it.
- Move the monitor until viewing feels comfortable.
- Measure from the front of the keyboard area to the back of the monitor stand.
- Add space for cables.
Now you have a useful minimum depth based on your equipment rather than guesswork.
Leave Room Under the Desk
Do not build a beautiful desktop and fill the entire underside with drawers.
Your legs need space.
OSHA’s workstation guidance calls for adequate knee and foot clearance and recommends keeping the area beneath the working surface free from equipment and storage that prevents movement. Its detailed clearance guidance identifies at least 20 inches of width in the illustrated minimum seated workspace.
Keep computer towers, boxes, and filing bins away from your primary leg area whenever possible.
Position the Monitor Properly
The monitor should normally sit directly in front of you rather than several inches to one side.
OSHA recommends placing the top line of the screen at or below eye level and keeping the display at least 20 inches away.
You do not automatically need an expensive monitor arm.
A sturdy monitor stand can accomplish the same basic height adjustment.
Just make sure anything used as a riser is stable and designed to support the monitor safely.

Finding an Ergonomic Chair
Do not choose a chair because someone online calls it “ergonomic.”
Check whether it fits you.
A useful home office chair should allow you to:
- Support your feet on the floor or a stable footrest.
- Keep your lower back supported.
- Sit without the front edge pressing into the backs of your knees.
- Relax your shoulders.
- Position your arms without forcing your elbows outward.
OSHA recommends a backrest that follows the natural curvature of the spine, adequate lumbar support, an appropriate seat depth, and armrests that do not force the shoulders upward.
Adjustability becomes particularly useful when several people share the same chair.
And whenever possible, physically sit in a chair before committing to it. OSHA makes the same practical recommendation because chair fit varies from person to person.
DIY Projects You Can Build
You do not need a fully equipped woodworking shop to make useful office furniture.
A beginner-friendly project should minimize complicated cuts and let the supplier handle the most difficult fabrication.
One of the easiest approaches is a pre-cut wood desktop with ready-made legs or trestles.
It gives you the custom-desk appearance without requiring advanced joinery.
Simple DIY Butcher-Block Desk
A butcher-block desk is a good project when you want a durable wood work surface but do not want to glue individual boards together yourself.
Current U.S. retail listings show 5-foot × 30-inch butcher-block-style desktop panels in several materials and finishes, including finished engineered products around $120 and unfinished solid-wood options above $190–$250. These prices can change, but they demonstrate why the top itself may become the largest part of the project budget.
Materials
You will need:
- Pre-cut desktop or butcher-block panel.
- Two compatible trestles or a desk-leg set.
- Manufacturer-recommended mounting hardware.
- Tape measure.
- Pencil.
- Drill/driver.
- Drill bit appropriate for your fasteners.
- Screwdriver bit.
- Sandpaper if the top requires finishing.
- Finish if you purchased unfinished wood.
Choose your hardware only after checking the actual thickness of the desktop and the mounting plate.
Never use a screw long enough to break through the top surface.
When using a manufactured leg system, follow its fastening instructions and load limitations rather than substituting random hardware.
Step 1: Confirm the Finished Desk Size
Do not cut first.
Place painter’s tape on the floor showing the proposed desk width and depth.
Put your chair inside the outline.
Check door clearance, walking space, wall outlets, monitor position, and chair movement.
Only then finalize the top size.
Step 2: Prepare the Desktop
If you purchased a prefinished top, follow the manufacturer’s installation instructions.
For unfinished wood, inspect both surfaces and edges first.
Light sanding may be required before applying a protective finish. Follow the finish manufacturer’s instructions for surface preparation, ventilation, drying, and recoating rather than assuming every wood finish works the same way.
Allow the finish to cure as directed before mounting computer equipment.
Step 3: Position the Legs
Turn the desktop upside down on a clean blanket or protective surface.
Place the legs or trestle brackets where they will be installed.
Measure from both sides.
Measure again.
The supports should be symmetrical unless the manufacturer specifies another layout.
Do not simply attach each leg as close to the corner as possible. Required setbacks vary with the leg system and tabletop construction.
Step 4: Mark the Mounting Holes
Use a pencil to mark each mounting point through the leg bracket.
Remove the leg.
Check your screw length against the desktop thickness.
For screw-mounted systems, drill pilot holes only when recommended for the hardware and material you are using. Use the drill-bit size and depth appropriate for the specified fastener.
This is where a piece of painter’s tape wrapped around the drill bit can serve as a simple depth reference.
Step 5: Attach the Base
Position each leg over the pilot holes.
Install the fasteners gradually rather than fully tightening the first screw before installing the others.
Check alignment.
Tighten everything securely according to the hardware manufacturer’s instructions, but do not overdrive screws into wood.
Step 6: Turn and Test
With another person helping if the desktop is heavy, turn the desk upright.
Check for rocking before adding electronics.
Then test it with light pressure from different directions.
If it moves unexpectedly, stop and inspect the mounting points, leg adjustment, and floor before loading the desk.
Step 7: Set Up for Your Body
Now bring in the chair, keyboard, mouse, and monitor.
This is the step that turns a woodworking project into an actual workspace.
Adjust the chair first.
Then adapt the workstation around that seated position.

Easier Alternative: A Trestle Desk
Not comfortable drilling into a desktop?
Consider two purpose-built trestles and a compatible top.
Current modular furniture systems include individual desk legs around $7.50–$25 and wooden trestles around $60 each, showing how a simple base can be assembled without custom woodworking.
Always verify that the chosen top and support system are intended to work together.
Add Simple Floating Shelves
Once the desk is working, wall storage can free valuable desktop space.
Floating shelves are useful for books, small office supplies, plants, and lightweight décor.
But wall mounting deserves more care than desktop organization.
Wall construction varies, and fastening requirements depend on the shelf, bracket, wall material, and expected load. Use the shelf manufacturer’s approved fasteners and installation method. Do not assume a generic plastic anchor is suitable for every wall or every shelf.
For heavy storage, use an appropriately rated mounting system and verify the wall structure before installation.
Lighting & Cable Management
Lighting and cords are not finishing details.
They affect how comfortable and usable the workspace feels every day.
Start With Natural Light
During daytime, sit at the desk before permanently mounting anything.
Look for:
- Reflections on the screen.
- Direct sunlight hitting your eyes.
- Deep shadows across the keyboard.
- Bright windows directly behind the monitor.
When practical, positioning the monitor perpendicular to a window can help reduce glare.
Use curtains or blinds when direct sunlight changes significantly through the day.
Add Task Lighting
A good DIY office usually benefits from layered lighting rather than one extremely bright ceiling fixture.
Think in three layers:
Room lighting provides general visibility.
Task lighting illuminates paperwork, notebooks, and the desktop.
Daylight provides natural illumination when available.
Place an adjustable desk lamp so your hand does not create a strong shadow over your writing area.
For video calls, experiment before buying special equipment. A normal lamp positioned in front of you and slightly to one side may produce a more flattering result than bright overhead lighting.
Build Simple Cable Management
You do not need to hide every wire.
The real goal is to keep cables:
- Away from your feet.
- Away from moving chair wheels.
- Easy to identify.
- Easy to disconnect.
- Free from unnecessary tension.
A simple system works well:
Stage 1 — Group
Separate power cables from loose peripheral cords.
Stage 2 — Route
Run monitor, keyboard, and charger cables toward one side or toward the rear of the desk.
Stage 3 — Support
Use reusable hook-and-loop ties, cable clips, or an under-desk cable tray.
Stage 4 — Label
Label unfamiliar power adapters at both ends.
Six months later, you will know exactly which cable belongs to the monitor.
Do Not Turn Cable Management Into an Electrical Hazard
Never sacrifice electrical safety simply to make the floor look cleaner.
The U.S. Consumer Product Safety Commission warns against overloading extension cords and advises against running them beneath carpets or rugs, where heat cannot dissipate properly and damage can go unnoticed.
Keep plugs and power equipment accessible enough to inspect.
Replace damaged cords rather than hiding them inside cable sleeves.
Cable management should make electrical equipment easier to manage—not harder to inspect.

Make the Workspace Feel Like Yours
Once the practical problems are solved, personalize the space.
This is the fun part.
Add only objects that either help you work or make you genuinely enjoy sitting there.
That might mean:
- One plant.
- A framed photograph.
- A corkboard.
- A small speaker.
- A handmade pencil holder.
- A favorite desk mat.
- A shelf displaying a few meaningful objects.
You do not need to recreate somebody else’s perfectly styled home office.
A productive workspace can be simple.
In fact, leaving part of the desk completely empty gives you somewhere to write, read, repair something, sort papers, or simply rest your hands.
DIY Home Office Checklist
Before calling your workspace finished, check the basics:
- Space: The desk fits without blocking doors or normal movement.
- Chair: Your feet are supported and your back feels supported.
- Desk: Keyboard and mouse placement lets your shoulders relax.
- Monitor: The screen is directly in front of you and comfortably positioned.
- Legroom: Storage and computer equipment do not crowd your knees or feet.
- Lighting: Daylight and lamps do not create distracting screen glare.
- Cables: Cords are secured away from your feet and chair.
- Power: Extension cords and power equipment are used safely and remain inspectable.
- Storage: Frequently used items are easy to reach.
- DIY furniture: All hardware is secure and the desk is stable before expensive equipment is added.
The best DIY home office is not necessarily the most expensive, the largest, or the most photogenic. It is the one that fits your room, your body, your equipment, and the way you actually work.
Start with the desk and chair. Fix the lighting. Control the cables. Then improve the workspace one useful project at a time.
Built your own DIY workspace? Share your setup, smartest DIY improvement, or biggest lesson learned—you may give another home-office builder the idea they needed.